Last updated November 17, 2026







Free written scope consultation - allowances, timeline, and change-order rules on paper before a single trade is scheduled
Bathroom Remodeling Maintenance Schedule: What to Do and When
The number-one call we get two years after a remodel isn’t a warranty claim – it’s a grout problem that a $6 tube of caulk could have prevented in year one. That pattern repeats often enough that we started handing new clients a maintenance calendar along with their final walkthrough. A finished bathroom is not a finish line. It’s a piece of equipment with a service interval, and the first failures almost always show up at the joints, not the tile, the tub, or the cabinet. This guide lays out the actual schedule: what to check at one month, one year, and three years, why coastal humidity in Huntington Beach pushes some components harder than homeowners expect, and how a simple log can protect you if a warranty question ever comes up.
Quick Answer
A remodeled bathroom needs a short inspection at one month, a sealant and fan check every six to twelve months, and deeper valve and supply-line checks at the one-year and three-year marks. Caulk and grout joints fail first, usually within 12 to 24 months, so those get the most attention. Everything else – exhaust fan, shut-off valves, shower valve cartridge – follows a predictable annual rhythm once you know what to look for.
Styles & brands we work with
- Kitchen remodeling
- Bathroom remodeling
- Home additions & ADU
- Roofing
- Windows & doors
- Driveway & pavers
- Fence
Table of Contents
- Why Your New Bathroom Started a Maintenance Clock
- The First Year: Month-by-Month Checklist
- Grout and Caulk: The First Joints to Fail
- How Huntington Beach Humidity Changes the Schedule
- Shower Valves, Supply Lines, and Shut-Off Valves: 1-Year and 3-Year Checks
- The Exhaust Fan Is Your Most Ignored Component
- Keep a Maintenance Log (It Protects You)
- The Annual Calendar at a Glance
Why Your New Bathroom Started a Maintenance Clock
Every material in a bathroom is rated for a service life. Silicone caulk in a wet zone is typically good for 12 to 24 months before it starts to pull away. Grout at a change-of-plane joint (where wall meets floor, or tub meets wall) was never meant to stay rigid; it develops hairline cracks and stops sealing. An exhaust fan motor in a coastal home may run well past a decade, but its airflow drops as the blades load up with dust and salt air film.
None of these are construction defects. They’re wear items, the same way brake pads are. The problem is that most homeowners treat a new bathroom as a finished product rather than equipment, so nothing gets inspected until water shows up somewhere it shouldn’t. By then, a $6 tube of caulk has turned into a $600 drywall repair.
In our experience across Huntington Beach neighborhoods – from the older single-story homes near downtown to the newer builds off Ellis Avenue – the pattern is identical. The remodel is beautiful. Two years later, a dark line appears at the base of the shower wall. That line is moisture that got behind a failed caulk joint and wicked into the backer board.
So here’s the reframe this guide asks of you: schedule the maintenance the same week you schedule the remodel. Set a recurring calendar reminder. Buy a tube of color-matched silicone and keep it in the garage. The rest of this guide is the schedule itself. If you’re still in the planning phase and haven’t started the project, our Barrett & Sons Construction Huntington Beach home page is the place to start the conversation.
The First Year: Month-by-Month Checklist
The first year is when settling happens and when you establish the habits that determine whether the bathroom ages well. Here’s what to do, in order.
- Month 1 – Walkthrough inspection. Run every fixture. Fill the tub, drain it, watch for pooling at the drain flange. Check the caulk line at the tub and shower base for gaps. Open the cabinet under the sink and look for moisture at the supply connections and the P-trap.
- Month 2 – Fan check. Turn on the exhaust fan and hold a piece of toilet paper to the grille. If it doesn’t pull and hold the paper, airflow is weak. Clean the grille and check the duct flap at the exterior wall.
- Month 3 – First caulk inspection. Press a fingernail into the silicone at the shower base and tub. If it feels soft, is pulling away, or has darkened, it needs attention.
- Month 6 – Grout review. Look for hairline cracks at inside corners and where the floor tile meets the wall. Re-seal with a penetrating sealer if the grout darkens quickly when wet.
- Month 9 – Drain and P-trap check. Remove the drain stopper, clear hair, and confirm the drain isn’t slow. Tighten the slip nuts under the sink if you see a drip.
- Month 12 – One-year full inspection. This is the big one. Covered in detail below.
If you want a second set of eyes on that one-year inspection, a professional looking at it once is cheaper than a repair later. We offer a bathroom remodeling service in Huntington Beach and can look at an existing remodel the same way we look at a new project.
Grout and Caulk: The First Joints to Fail
Grout and caulk fail faster than anything else in a bathroom because they’re the flexible seal between rigid materials, and rigid materials move. Tile, backer board, and framing all expand and cool with the seasons. The sealant at the change-of-plane joints has to absorb that movement. Eventually it can’t.
The exact inspection intervals depend on material:
- 100% silicone caulk: Inspect every 3 months, expect 12 to 24 months of service in a wet zone before replacement.
- Siliconized acrylic caulk: Inspect every 3 months, expect 5 to 10 years in dry zones, shorter in showers.
- Cement-based grout (unsealed): Re-seal every 6 to 12 months; inspect for hairline cracks quarterly.
- Epoxy grout: Longest service life of the group; inspect joints annually and re-seal only if the surface shows etching.
- Grout at change-of-plane joints: Should be caulk, not grout. If a contractor grouted those corners, expect cracks. That’s the single most common shortcut we’re called to fix.
Huntington Beach properties within a mile or two of the sand – Surfside, Sunset Beach, the neighborhoods around the pier – tend to see caulk fail faster because salt air and constant humidity soften the bond and encourage mildew behind the bead. A house a few miles inland in a drier microclimate will often get closer to the 24-month end of the range.
One note on DIY: re-caulking a bathtub edge is a reasonable weekend project, but if the existing caulk is failing because the backing is wet, replacing the caulk won’t fix it. Probe the joint with a screwdriver. If the backer crumbles or feels soft, stop and get a professional assessment before you spend money on new sealant.
How Huntington Beach Humidity Changes the Schedule
Coastal humidity does more to a bathroom than inland buyers expect. Two components suffer most: the exhaust fan and the silicone caulk lines.
On the fan side, a coastal house pulls in air that’s already carrying moisture and salt. That combination loads up fan blades and deposits a film on the motor housing that reduces airflow and shortens motor life. Fans in Huntington Beach bathrooms we service typically need cleaning every 6 months instead of the usual 12, and a replacement motor or fan unit more often than an equivalent inland home.
On the caulk side, silicone cures by exposure to moisture in the air – which is fine – but the film that develops behind a bead in a humid house supports mildew faster. That’s why you’ll see a dark line behind a bead in a coastal bathroom before you see it inland. The fix is not to recaulk on a shorter interval; it’s to make sure the joint is fully dry and the old sealant is fully removed before new silicone goes down. Fresh silicone over old is a band-aid that fails within a season.
We’ve also seen this show up in home additions with a bathroom on an exterior wall facing the ocean. The wall cavity holds more moisture on that side, so the caulk on that wall ages twice as fast as the interior wall. If you’re adding a bathroom or bumping one out, our Home Additions & ADU in Huntington Beach team plans the waterproofing with that in mind.
Shower Valves, Supply Lines, and Shut-Off Valves: 1-Year and 3-Year Checks
This is the layer most homeowners ignore, and it’s where a slow leak actually causes damage. Valves and supply lines are hidden, so they get checked only when something goes wrong.
At the 1-year mark:
- Turn every shut-off valve under every sink and behind the toilet fully closed and back open. This is the one that matters most – a valve that hasn’t moved in a year may seize or, worse, fail when you try to use it during an emergency.
- Inspect every flexible supply line for bulging, cracking, or discoloration. Stainless braided lines should look intact; any sign of rust is a replacement indicator.
- Turn the shower valve from cold to hot and back, watch for any drip from the trim plate, and confirm the temperature changes smoothly.
- For a tub-and-shower combo, check the diverter for leaks from the spout when the shower is running.
At the 3-year mark:
- Consider replacing flexible supply lines under sinks and toilets as preventive maintenance. They’re inexpensive and a failure of one floods a cabinet.
- Check the shower valve cartridge for rough operation or temperature drift. A cartridge that’s starting to fail often shows up first as a hot/cold swing.
- Inspect the toilet fill and flush valves for slow leaks. A dye test in the tank tells you if water is passing the flapper.
- Replace the anode rod in any water heater that serves the bathroom if it’s the original. This is adjacent to the bathroom schedule but it protects the same plumbing run.
A word of caution: opening a supply line or replacing a shower valve cartridge involves shutting off water and working around pressurized lines. Some of that is a reasonable DIY job for an experienced homeowner, but if you’re not confident, a professional should handle it. A mistaken turn of a seized valve in a tight cabinet is how a small maintenance task becomes a minor flood.
The Exhaust Fan Is Your Most Ignored Component
The exhaust fan is the single component in a bathroom that, if it stops working, causes more damage than anything else – because moisture from every shower goes straight into the wall cavities, framing, and paint instead of out the roof.
Here’s the annual test, done in 3 steps:
- Turn the fan on and hold a single square of toilet paper against the grille. It should stick firmly. If it flaps or falls, airflow is compromised.
- Remove the grille (usually a friction clip) and clean the blades with a damp cloth. In Huntington Beach, expect visible salt and dust film even after six months.
- Go outside and check the exterior vent flap. It should open when the fan runs and close when it stops. A stuck-open flap lets in insects and cold air; a stuck-closed flap means the fan is recirculating moist air back into the bathroom.
If the fan has been running for the life of the bathroom and never been cleaned, the motor may be near the end of its service life. A new fan with a higher CFM rating is a small job with an outsized payoff.
We install quality brand hardware on every job we touch – the same premium-brand approach we take when we install a Belgard paver driveway or fencing, we take with fans and fixtures. What’s on the box should match what’s on the invoice.
Keep a Maintenance Log (It Protects You)
A simple paper notebook or a shared note on your phone does the job. Log every inspection, every caulk replacement, every fan cleaning, and every part you replace, with the date and a one-line description.
Why it matters: if a warranty claim comes up two or three years after a remodel, a log is your evidence that you maintained the bathroom according to the schedule. It’s the difference between a contractor saying “this failed because it wasn’t maintained” and you being able to show that it was inspected quarterly and re-caulked when due. We stand behind every job with a written 90-Day Done Right Promise and in our experience, a homeowner who keeps records and a contractor who honors their promises end up in the same place: an honest conversation about what actually failed.
Two more log entries worth keeping:
- The date and brand of any replacement cartridge or valve. Matching the brand when you need parts later saves a phone call.
- The date the bathroom was last painted, with the sheen and color code. Bathroom paint ages quickly in a humid room.
A log is also useful if you ever sell the house. A buyer asking about the remodel will be reassured by a record of routine maintenance, not just an invoice for the original job.
The Annual Calendar at a Glance
Here’s the full-year summary, laid out so you can post it inside a cabinet door or save it as a reminder.
- Every month: Wipe down the shower and tub after use. Squeegee glass. Leave the fan running 15 to 20 minutes after every shower.
- Every 3 months: Inspect caulk joints at the shower base, tub edge, and sink backsplash. Press with a fingernail – soft or pulling away means replace.
- Every 6 months: Clean the exhaust fan blades and test airflow with the toilet paper method. Check the exterior vent flap. Re-seal grout in floor and wall fields if it darkens quickly when wet.
- Every 12 months: Full valve and supply line inspection. Exercise every shut-off valve. Check the shower valve cartridge for temperature drift. Check the toilet for slow leaks with a dye test. Clean the P-trap.
- Every 3 years: Replace flexible supply lines under sinks and toilets as preventive maintenance. Consider replacing the shower cartridge even if it’s working.
If you live in Huntington Beach and your house faces the ocean side, shift every one of those intervals earlier by about 25 percent. The salt air is worth the beauty, but it’s hard on sealants and fans.
For what it’s worth, we also see this schedule pay off in the other exterior work we do. A fence takes a similar maintenance rhythm, which is why we tell every client for our Fence Installation in Huntington Beach that the inspection calendar matters as much as the install. The same is true for a Driveway & Pavers in Huntington Beach install. Outdoor surfaces and indoor wet rooms both reward a homeowner who looks at the joints first.
Common Mistakes to Avoid
- Caulking over failed caulk. New silicone won’t bond to old silicone, and it traps moisture behind the bead. Remove the old caulk fully and let the joint dry before installing new.
- Grouting change-of-plane joints. Grout is rigid; corners need flexible sealant. If a contractor grouted your shower corners, that’s the source of most crack repairs we see in Huntington Beach.
- Ignoring the exhaust fan. A fan that’s lost airflow means moisture is settling into your walls. Clean it twice a year, and don’t wait for visible mold to check.
- Skipping the shut-off valve exercise. A valve that hasn’t been turned in three years can seize. A plumber who needs to shut off water in an emergency and can’t is a much bigger problem.
- Replacing supply lines reactively instead of preventively. A cracked braided line behind a cabinet is one of the most common causes of interior water damage we see. Replace them on a three-year rhythm.
- Treating the remodel as a final product. The finish isn’t the end of the project – it’s the first day of the maintenance schedule. Put the reminders in your calendar the same week as the walkthrough.
- Not keeping records. A warranty claim without a maintenance log is harder to resolve. Even a simple notebook resolves it.
See the difference
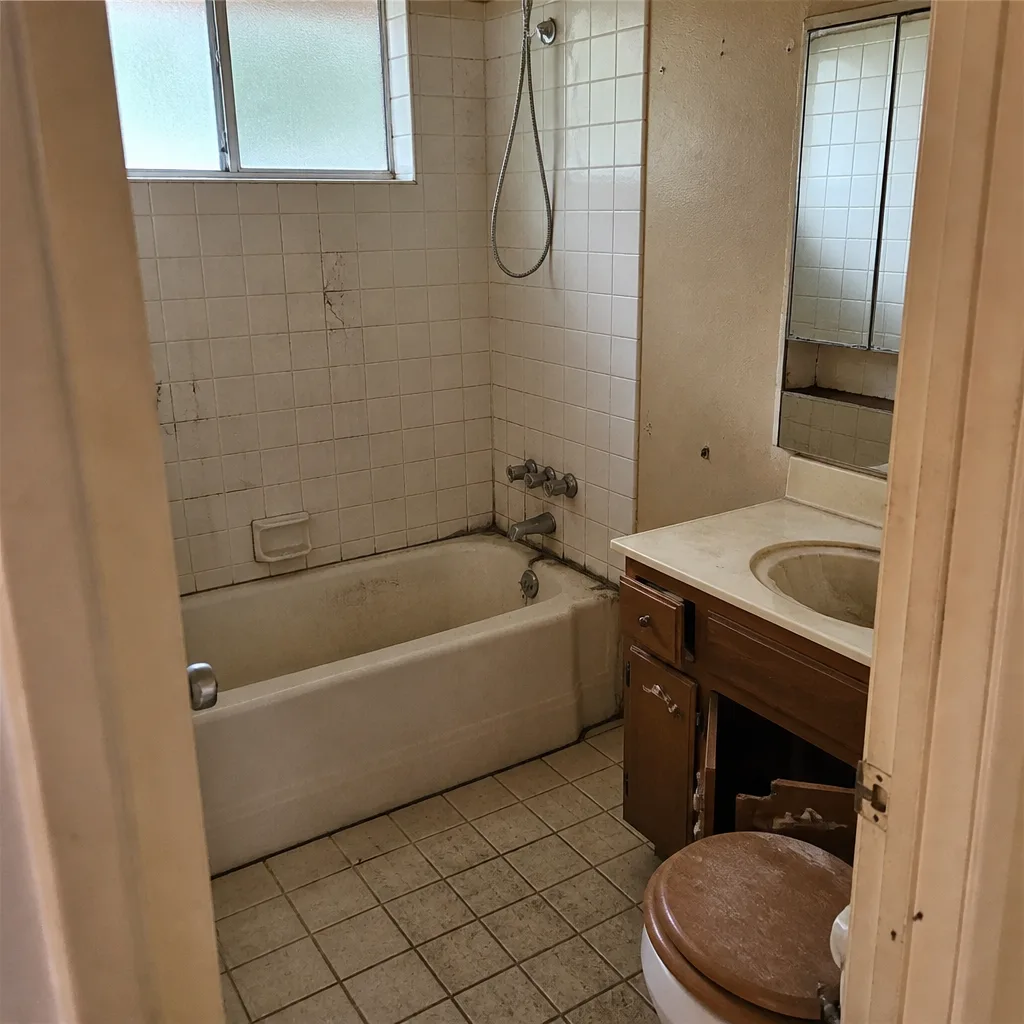 Before
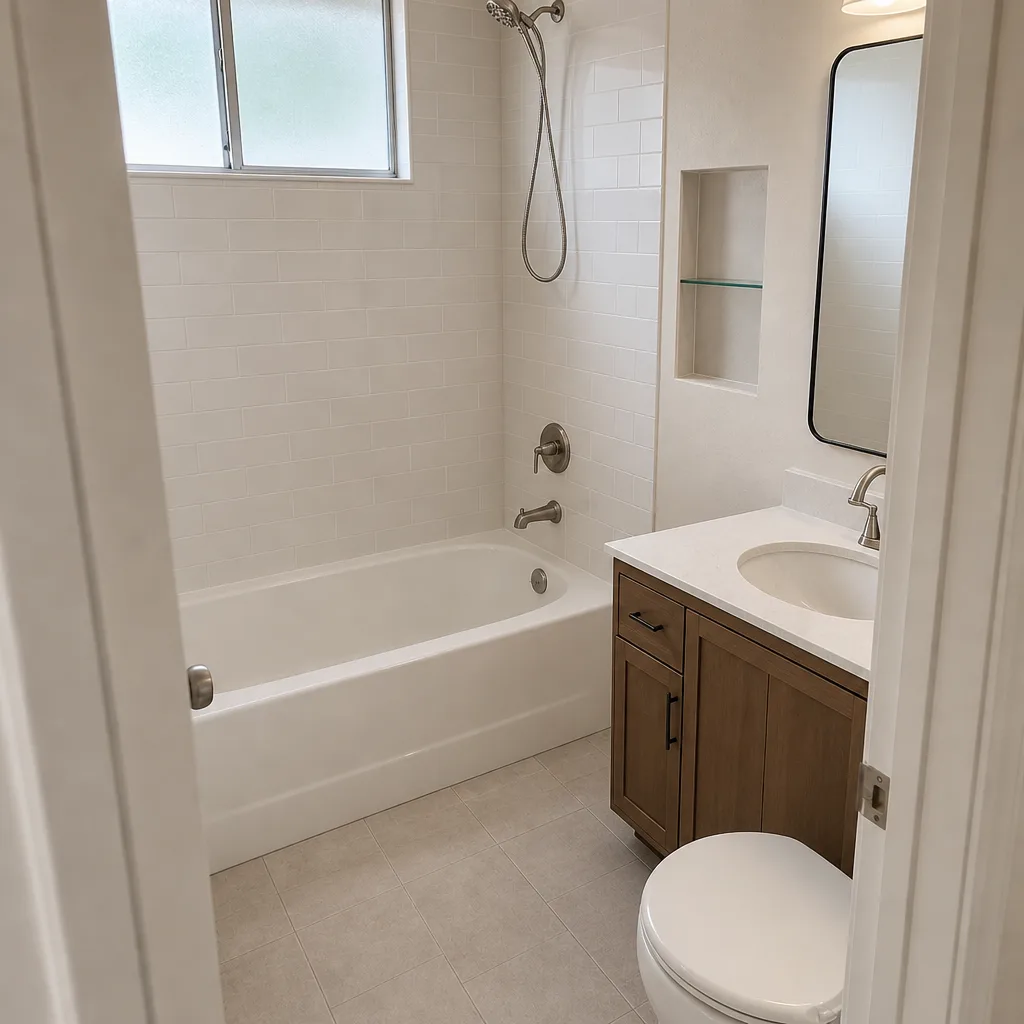 After
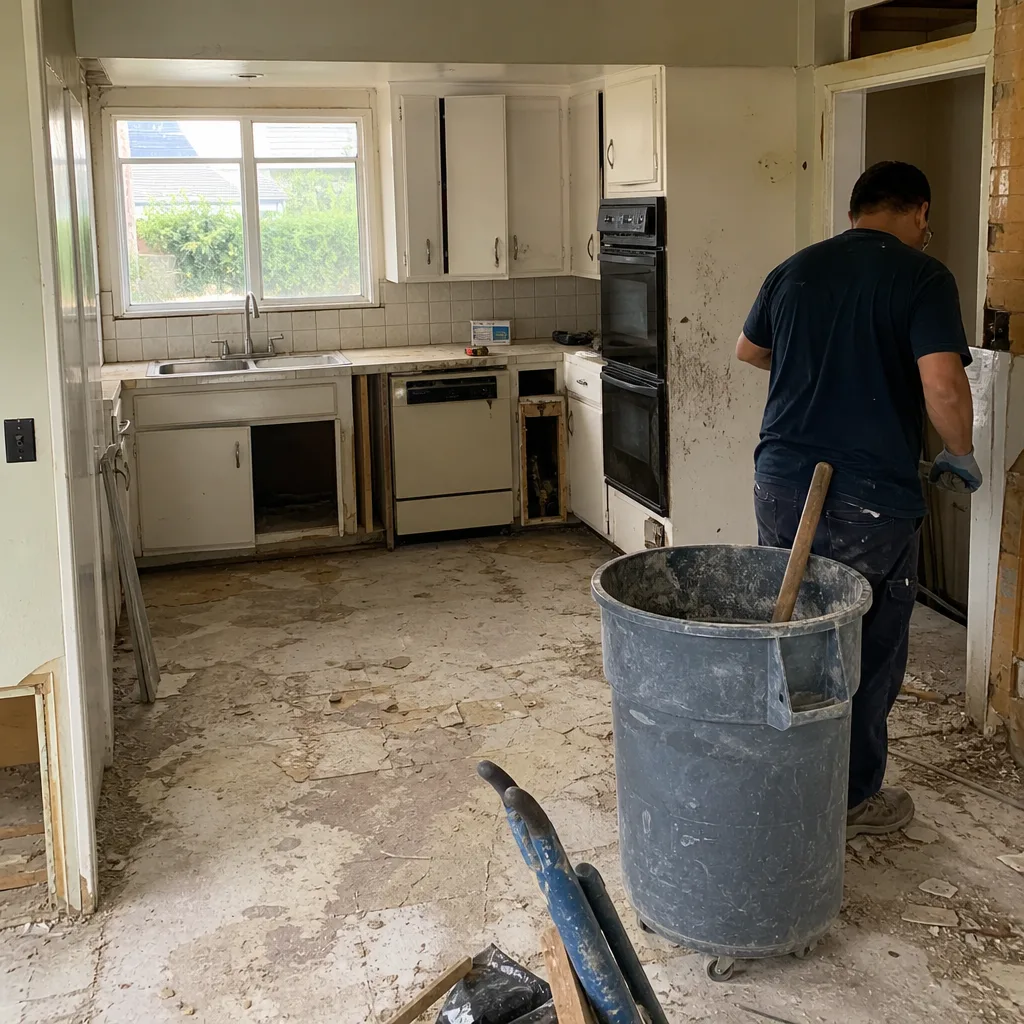 Before
 After
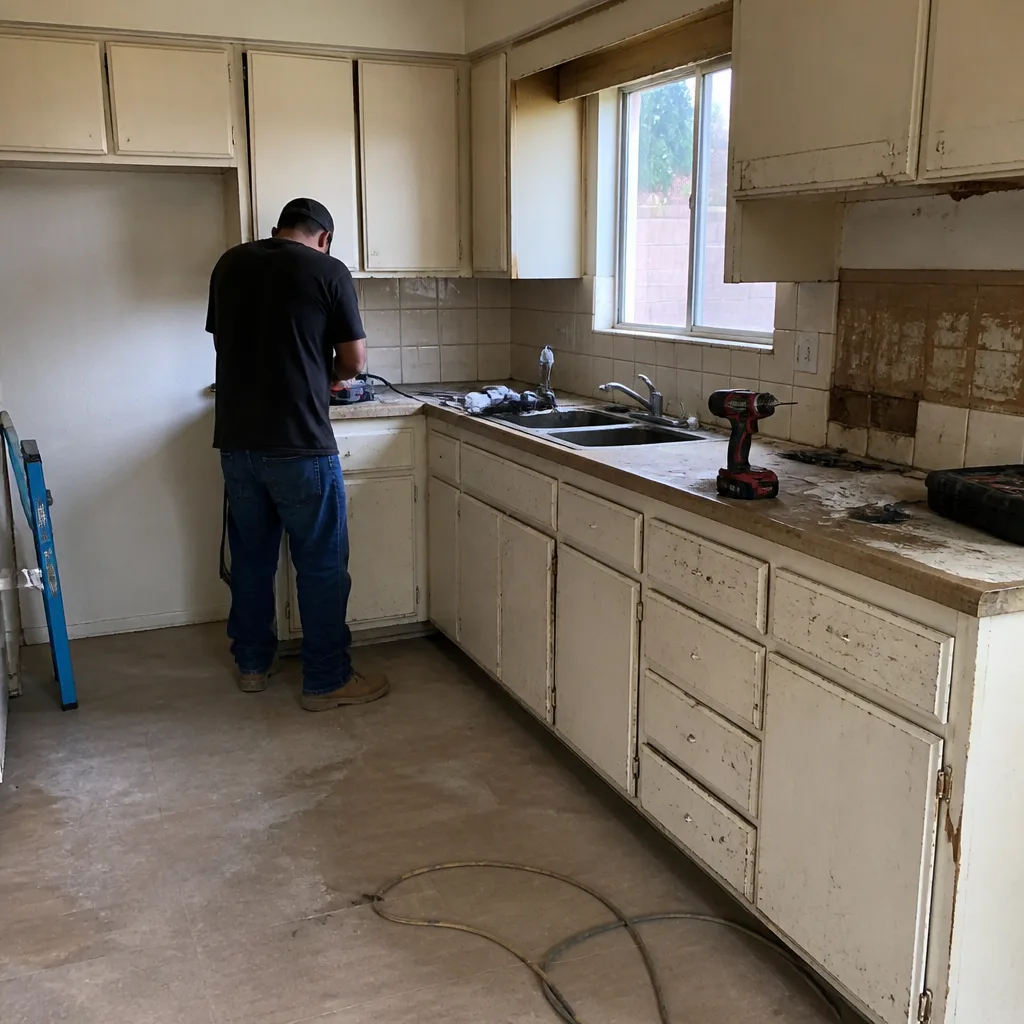 Before
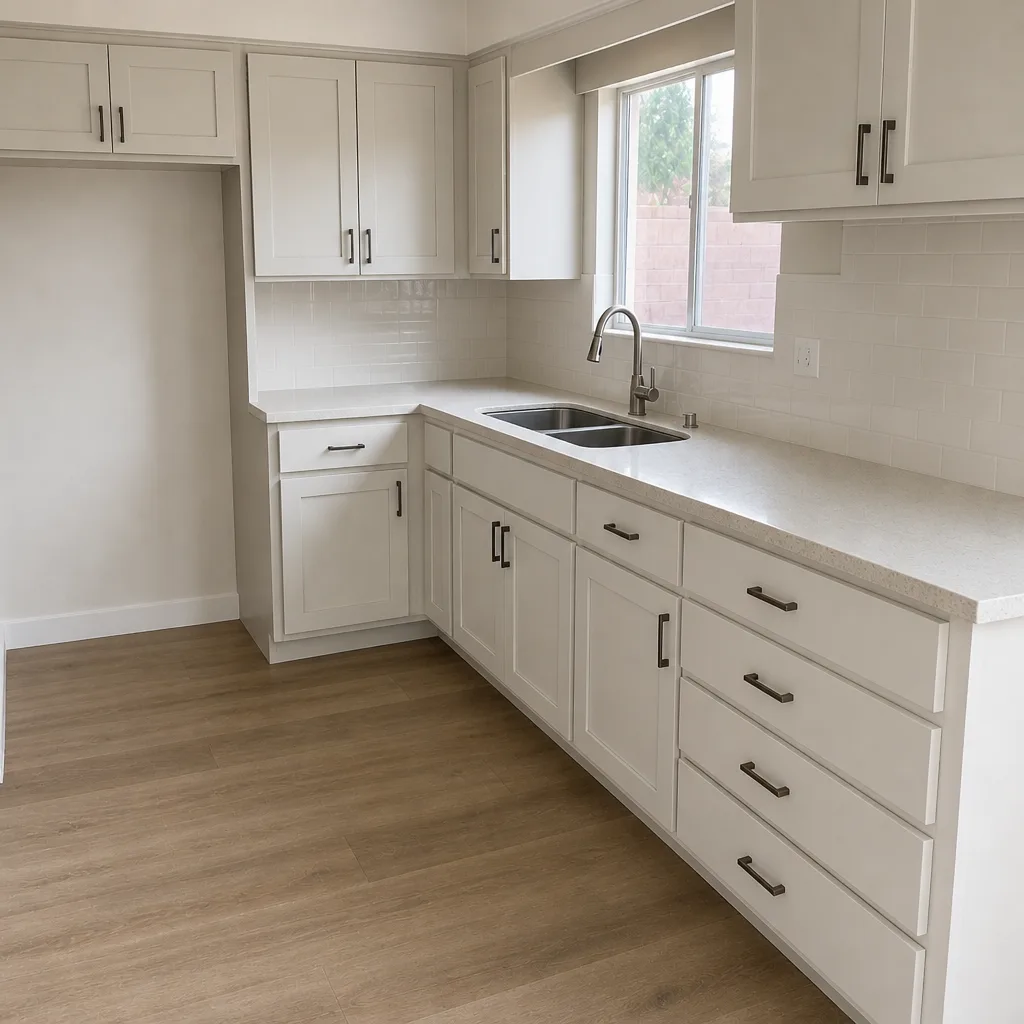 After
When to Call a Professional
Most of this schedule is a homeowner’s job. A few scenarios call for a professional. If the caulk has failed and the backer board behind it is soft or crumbly, don’t recaulk – get someone to look at the substrate before mold sets in. If the shut-off valve under the sink won’t turn, don’t force it; a seized valve that breaks open is a water emergency. If the shower valve cartridge is drifting on temperature, a professional replacement takes under an hour and avoids the risk of opening a pressurized line inside a wall. If the exhaust fan stops moving air after cleaning, an upgrade is worth doing properly. And if the whole bathroom is 15+ years past its last remodel, an inspection by a contractor is more useful than trying to patch it one joint at a time.
Barrett & Sons Construction Huntington Beach offers free estimates in Huntington Beach – call (844) 320-2945 to schedule a visit and we’ll walk the bathroom with you. We pull permits on every eligible job and every price change arrives as a written change order before work starts.
Frequently Asked Questions
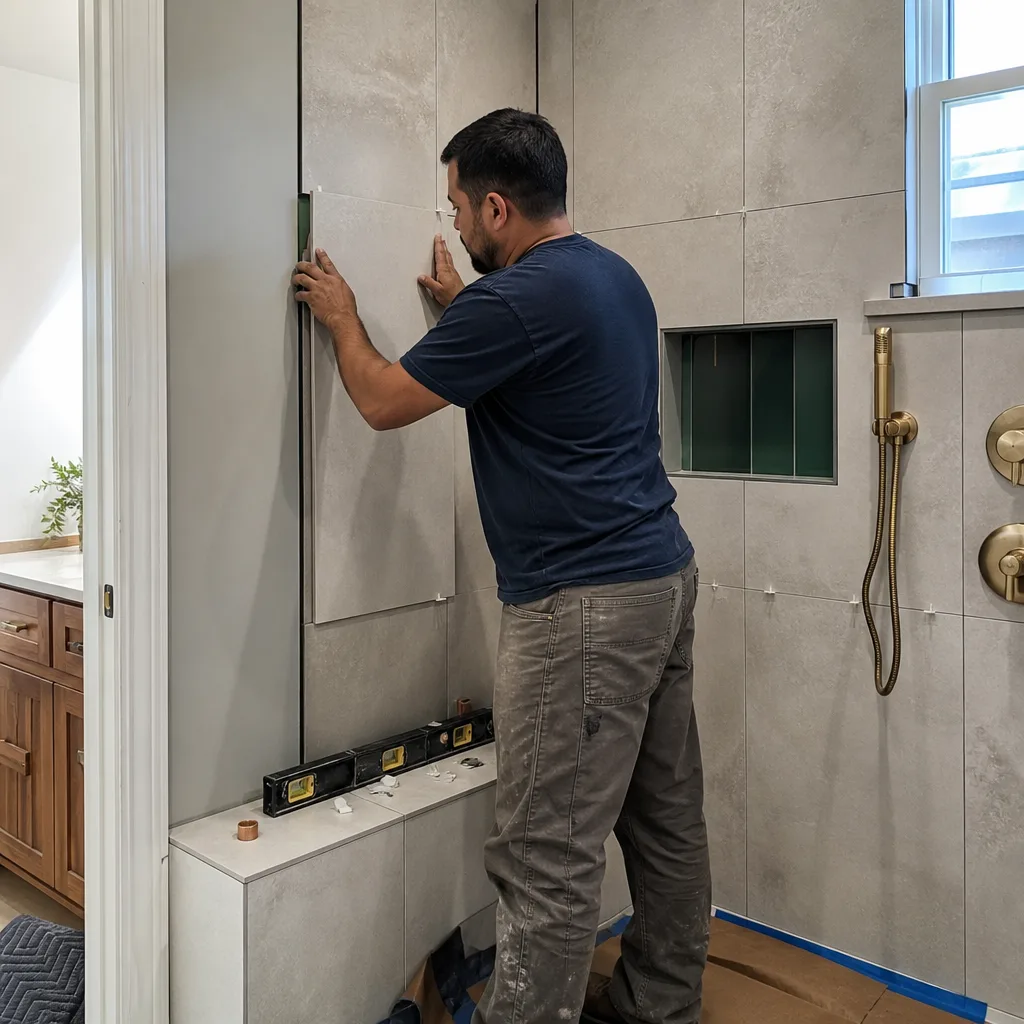
Expect to replace silicone caulk at the shower base and tub edge every 12 to 24 months in a Huntington Beach bathroom. Coastal humidity pushes it toward the shorter end, especially in homes within a mile of the beach. Inspect the bead every 3 months by pressing it with a fingernail; anything soft, dark, or pulling away is due.
The caulk at change-of-plane joints – tub-to-wall, shower base-to-wall, sink backsplash – usually fails first, often within 12 to 24 months. Grout at those same corners is next. The tile, tub, and cabinet are typically fine long past that point.
No. The annual fan check is a homeowner task: toilet-paper airflow test, remove the grille, wipe the blades, confirm the exterior vent flap opens and closes. Call a professional if airflow doesn’t recover after cleaning, if the motor is noisy, or if you want to upgrade to a higher-CFM unit.
Yes. Salt air and constant humidity load up the exhaust fan faster and shorten silicone life near the coast. If you live in Surfside, Sunset Beach, or near the pier, expect to clean the fan every 6 months and inspect caulk quarterly rather than annually.
Yes. A simple log of inspection dates, caulk replacements, and parts replaced is your evidence if a warranty claim ever comes up. Contractors who honor their written promises – the way we honor our 90-Day Done Right Promise – rely on that record as much as you do.
Call a contractor if the backer board behind failed caulk is soft, a shut-off valve won’t turn, the shower valve cartridge is drifting on temperature, or the fan has stopped moving air after cleaning. Call (844) 320-2945 for a free estimate in Huntington Beach – we’ll tell you honestly whether it’s a maintenance fix or something bigger.
The Bottom Line
A bathroom remodel is equipment, not a showroom. The finish date is the start of the maintenance clock, and the schedule is simple: monthly wipe-downs, quarterly caulk inspections, twice-yearly fan cleanings, annual valve checks, and a three-year plan for supply lines and cartridges. The joints fail first, and $6 of silicone on the right day prevents most of what turns into a bigger repair. Keep a log, put reminders in your calendar, and if coastal humidity in Huntington Beach is pushing your bathroom harder than expected, get a professional eye on it once a year. That’s how a remodel stays new.
If you’re considering a bathroom remodel and want a contractor whose name is on the truck, who pulls permits, and who puts every price change in writing – call Barrett & Sons Construction Huntington Beach at (844) 320-2945 for a free estimate. Our crew members have up to 28 years of experience, and we back every job with a written 90-Day Done Right Promise.
Written by the team at Barrett & Sons Construction Huntington Beach.