Last updated November 17, 2026



Free written scope consultation - allowances, timeline, and change-order rules on paper before a single trade is scheduled
Fence Installation Maintenance Schedule: What to Do and When
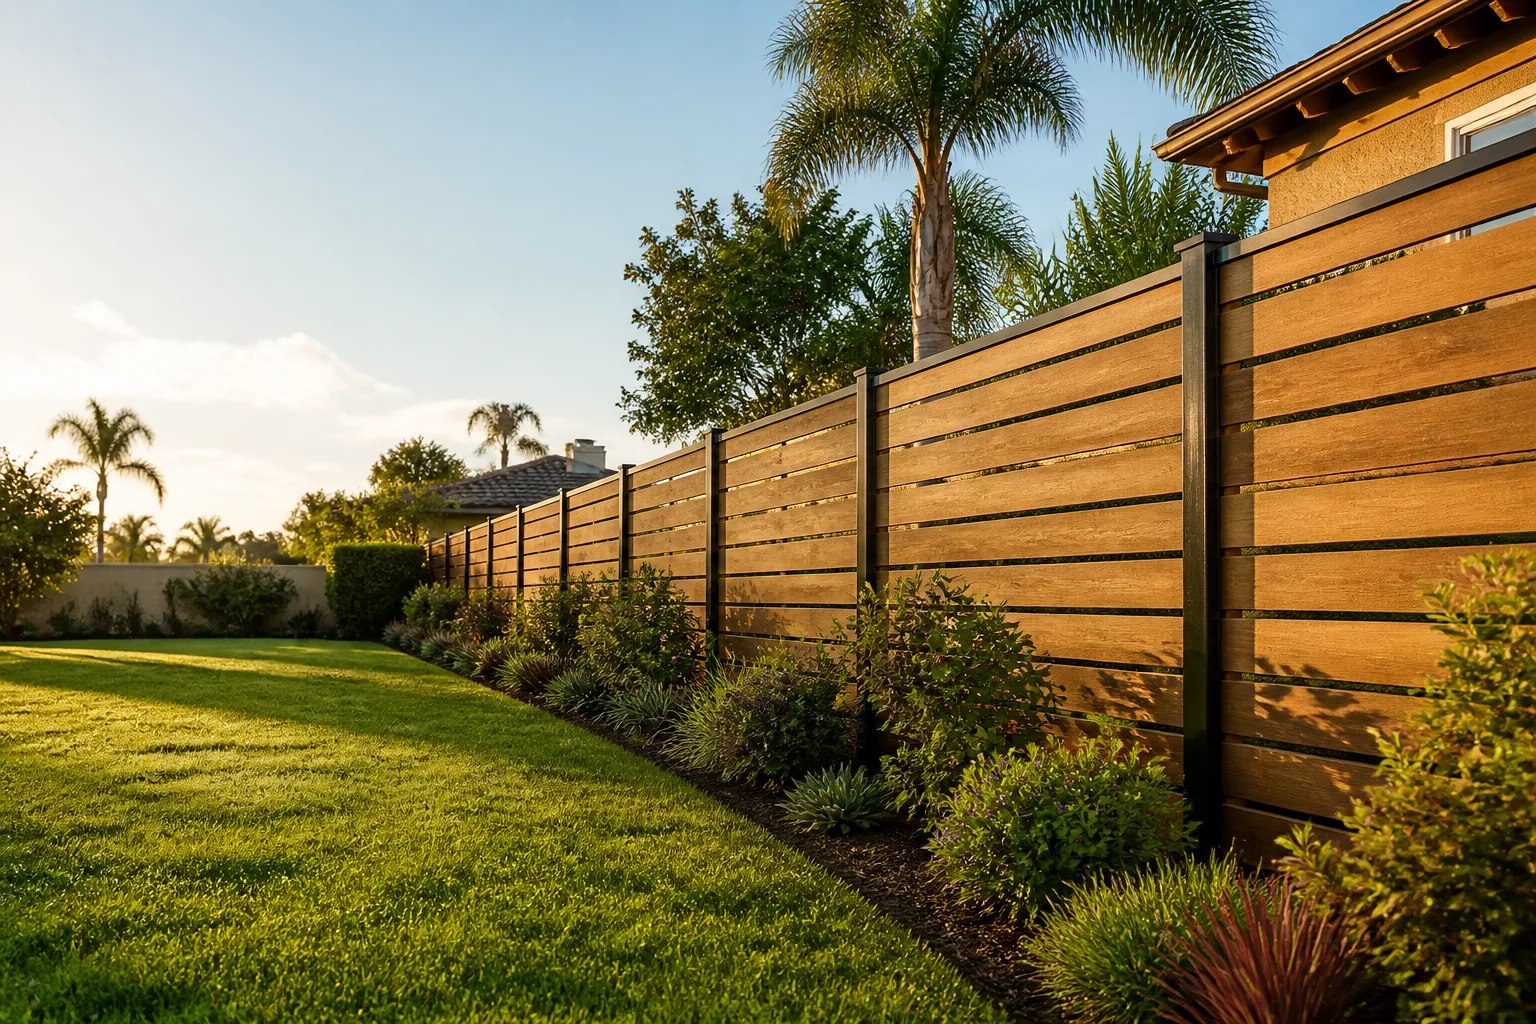
The best time to seal a wood fence in Huntington Beach is September. Summer sun has baked the boards and opened the grain, the marine layer hasn’t started soaking everything yet, and a fresh coat of stain has weeks to cure before the first real rain. Almost nobody does it then, because in September the fence is the last thing on your mind. That single timing mistake is why so many fences in this town go gray and soft years before they have to. What follows is the maintenance calendar we’ve built watching coastal wood fences live and die in Huntington Beach – the season-by-season tasks, the hardware checks, and the five-minute post inspection that saves homeowners hundreds.
Quick Answer
A coastal wood fence in Huntington Beach needs three targeted maintenance passes a year: a fall inspection and seal after summer UV, a post-winter check for rain damage and loose fasteners, and a late-summer hardware and post-base review. Done on that rhythm, a fence outlasts an ignored one by eight to ten years. Skip it, and you’ll be replacing boards and digging footings a decade early.
Styles & brands we work with
- Kitchen remodeling
- Bathroom remodeling
- Home additions & ADU
- Roofing
- Windows & doors
- Driveway & pavers
- Fence
Table of Contents
- Why a Coastal Fence Ages Differently
- The Season-by-Season Maintenance Calendar
- Fall: Inspect, Clean, and Seal
- Winter Rains: What to Watch For After the Storms
- Summer UV: What It Does to Stain and Sealer
- The Annual Hardware Inspection Protocol
- Reading the Wood: Can Re-Staining Save It?
- Vines, Plants, and Moisture Before You Reseal
- The Post-Base Check That Saves You $500
Why a Coastal Fence Ages Differently
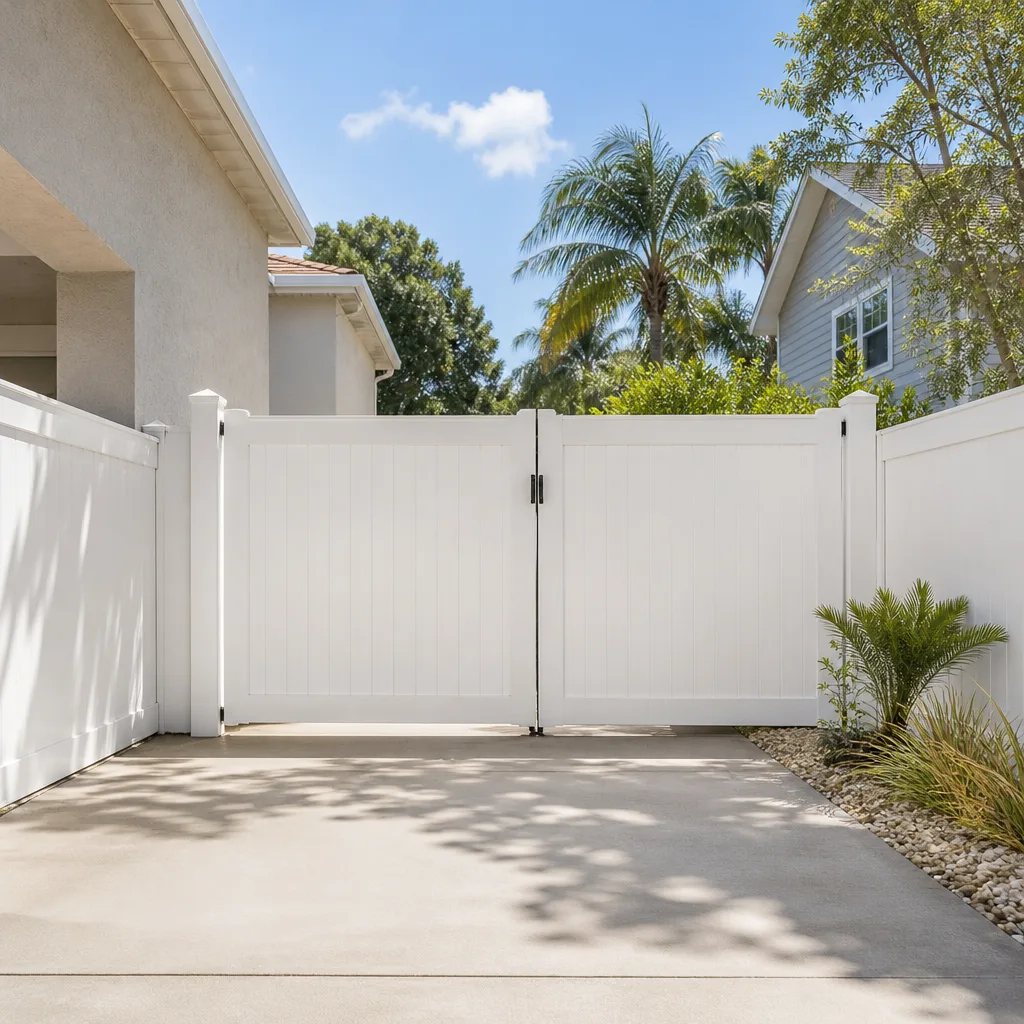
Huntington Beach is a tough place to be a wood fence. You get strong summer UV, a persistent marine layer that leaves boards damp well into the morning, salt air moving in off the water, and the occasional Santa Ana wind that drives dry heat and grit against the grain. Each of those stresses hits a different part of the wood at a different time of year.
The marine layer is the one people underestimate. A board that’s damp most mornings and baked dry by afternoon expands and contracts every single day. That cycling is what opens surface checks and pulls fasteners loose. Add salt, which holds moisture against metal and eats at cheap galvanized fittings, and you have a fence that’s doing real work just standing there.
Inland fences in places like Fountain Valley or Westminster dry out and fail differently – more UV cracking, less moisture. Here, the moisture and the salt do as much damage as the sun. That’s why a Huntington Beach maintenance schedule leans harder on sealing timing and fastener inspection than a schedule you’d write for a drier climate.
The Season-by-Season Maintenance Calendar
Here’s the whole year in one list. Print it, stick it on the garage wall, and set a phone reminder for each pass.
- September (late summer): Clean and seal the wood, inspect all fasteners, and check the post bases before the wet season.
- October – November: Final pre-rain walk-around. Confirm gates swing freely, tighten anything loose, and clear debris from the base of each post.
- December – March (winter rains): After each significant storm, walk the fence line. Look for water pooling at post bases, boards that have shifted, and dirt piled against the wood.
- April (post-winter): Inspect for rot, warping, and popped nails. This is when hidden winter moisture damage shows itself.
- June – August (peak sun): Watch stain fade on the south- and west-facing runs. Note where the coating wears thin.
- Repeat: Hardware check annually, seal every two to three years depending on exposure.
That’s the skeleton. The rest of this guide fills in what to actually look at during each pass.
Fall: Inspect, Clean, and Seal
September and early October are the sweet spot in Huntington Beach. The UV load is dropping, humidity is still low enough for stain to cure, and you’re ahead of the winter moisture. Do it in this order:
Step 2: Let it dry. Give it a full 48 hours in dry weather. The wood should read dry on a moisture meter before any stain goes on. Sealing damp wood traps water and guarantees peeling by spring.
Step 3: Inspect while it’s clean. This is the easiest time to see checks, splits, loose boards, and rust. Note everything before you start coating.
Step 4: Seal. A penetrating oil-based stain or a quality sealer goes on with a brush or sprayer, worked into the grain. Back-brush the spray. Two thin coats beat one heavy coat every time.
Doing this pass in September rather than spring is the whole thesis of this guide. In our experience, homeowners who seal in fall get a coating that survives the wet season intact. Spring-sealed fences in Huntington Beach often blister by the following winter.
Winter Rains: What to Watch For After the Storms
The winter rain season is short here but it’s when the fence takes its real beating. Moisture finds every gap, every check, every spot where a board meets a rail. After each storm that actually drops water, do a quick walk:
- Water at the post bases. If dirt has washed up against the wood or water is standing around a post, that post is now soaking. Clear it and check the base.
- Boards that moved. Warping, cupping, or boards that have pulled away from the rails signal failed fasteners or saturated wood.
- Popped nails and lifted screws. Frost and wet-dry cycling work fasteners loose. Catch them now, before the board separates.
- Green growth. Algae and moss on the north side are a sign of persistent moisture. That’s a reseal flag.
- Gates that drag. A gate that suddenly scrapes the ground usually means the post has shifted or swelled – check the hinge post first.
None of this takes more than ten minutes per storm. What it prevents is the repair that shows up in April when a post has quietly rotted from the bottom up.
Summer UV: What It Does to Stain and Sealer

By July, the sun is doing its worst work on the two hottest exposures – the runs facing south and west. UV breaks down the pigment and the resin in stain, and you’ll see it as a color that’s gone chalky, grayish, or blotchy compared to the shaded side of the fence.
Run your hand along a board in full sun. If you come away with fine gray powder, the coating is breaking down. If the surface feels rough and dry, the wood underneath is unprotected and starting to check. That’s the moment to plan for a September reseal, not wait until next year.
Here’s the practical rule we use: a fence in full coastal sun in Huntington Beach needs a fresh coat every two to three years. A shaded run under trees might go four. The mistake is treating the whole fence the same. Test the sunny side first, and schedule accordingly.
The boards themselves deserve a look too. Newer premium vinyl options like Bufftech or activeyards hold color through this UV load with far less upkeep – if you’re building new and want low-maintenance, that’s a conversation worth having. For a step-by-step on what a new install looks like, see our guide to Fence Installation in Huntington Beach.
The Annual Hardware Inspection Protocol
Fasteners are the cheapest thing on the fence and the most likely to cause a real failure. Once a year, walk the line with a screwdriver and a flashlight and check every fastener type:
- Nails and screws at the rails. Look for backs that have started to pull out, and for rust bleeding down the wood. Surface rust on a hot-dipped or coated screw is normal; deep, flaking corrosion is not.
- Hinge screws on gates. Gates take the most load and the most movement. Check every hinge screw for tightness and rust. A loose hinge screw in a wet climate will widen its hole and strip out.
- Latch and strike hardware. Wobbly latches mean the gate has shifted. Fix fasteners before the gate sags.
- Post-to-rail brackets. Any metal bracket at a joint is a moisture trap. Clean it, inspect for corrosion, and replace if the metal is compromised.
Replacing a rusted screw costs pennies. Waiting until a rail pulls loose or a hinge strips out of the post turns that into a board replacement or a post repair. “Replace before it fails” is a cheap habit – the cost of catching it now versus waiting is a ten-to-one difference on most fences we see.
See the difference
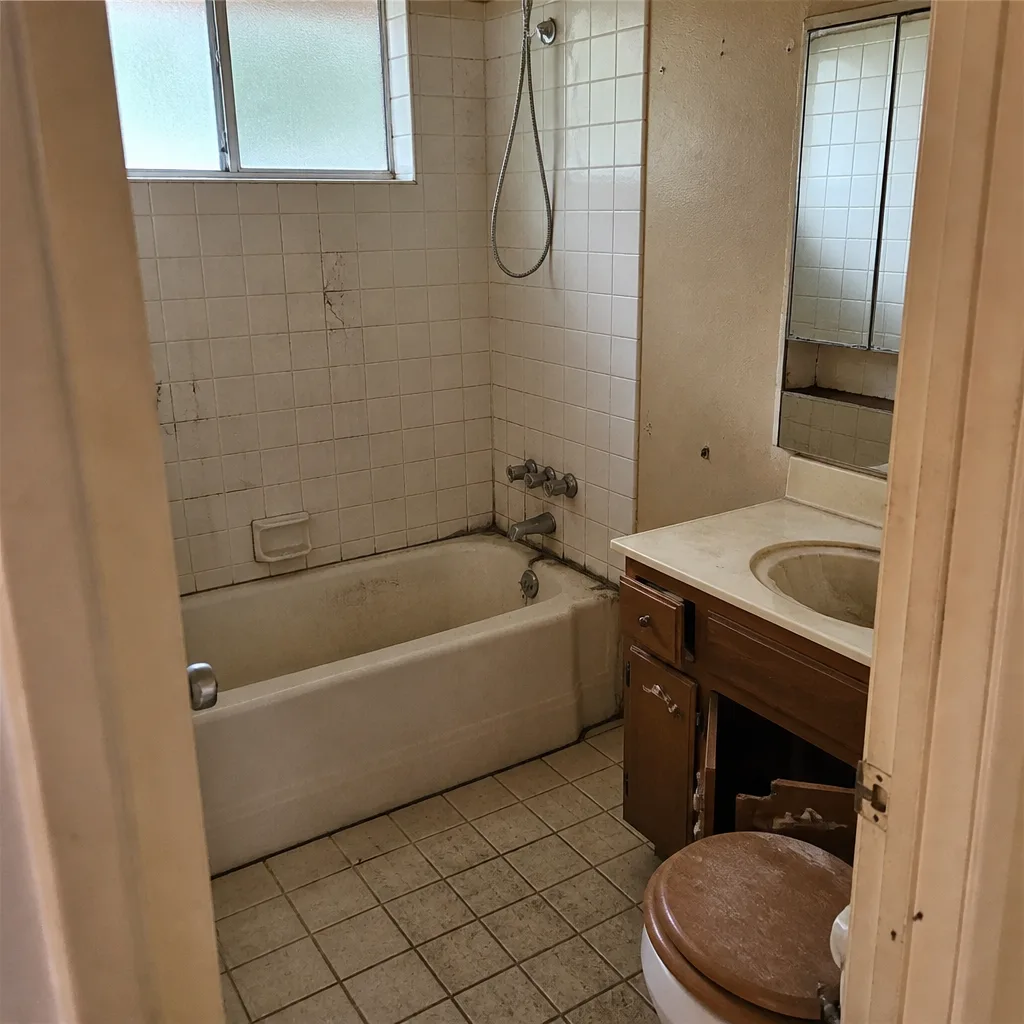 Before
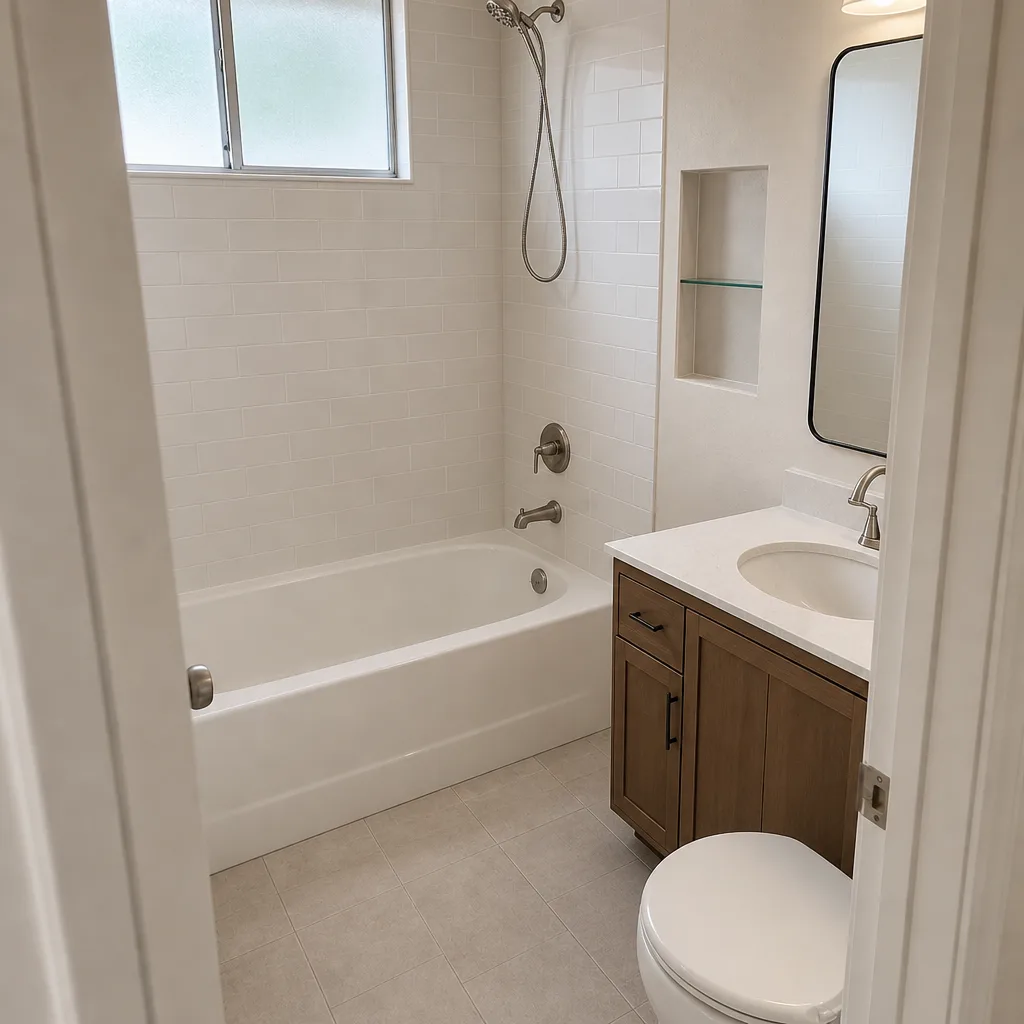 After
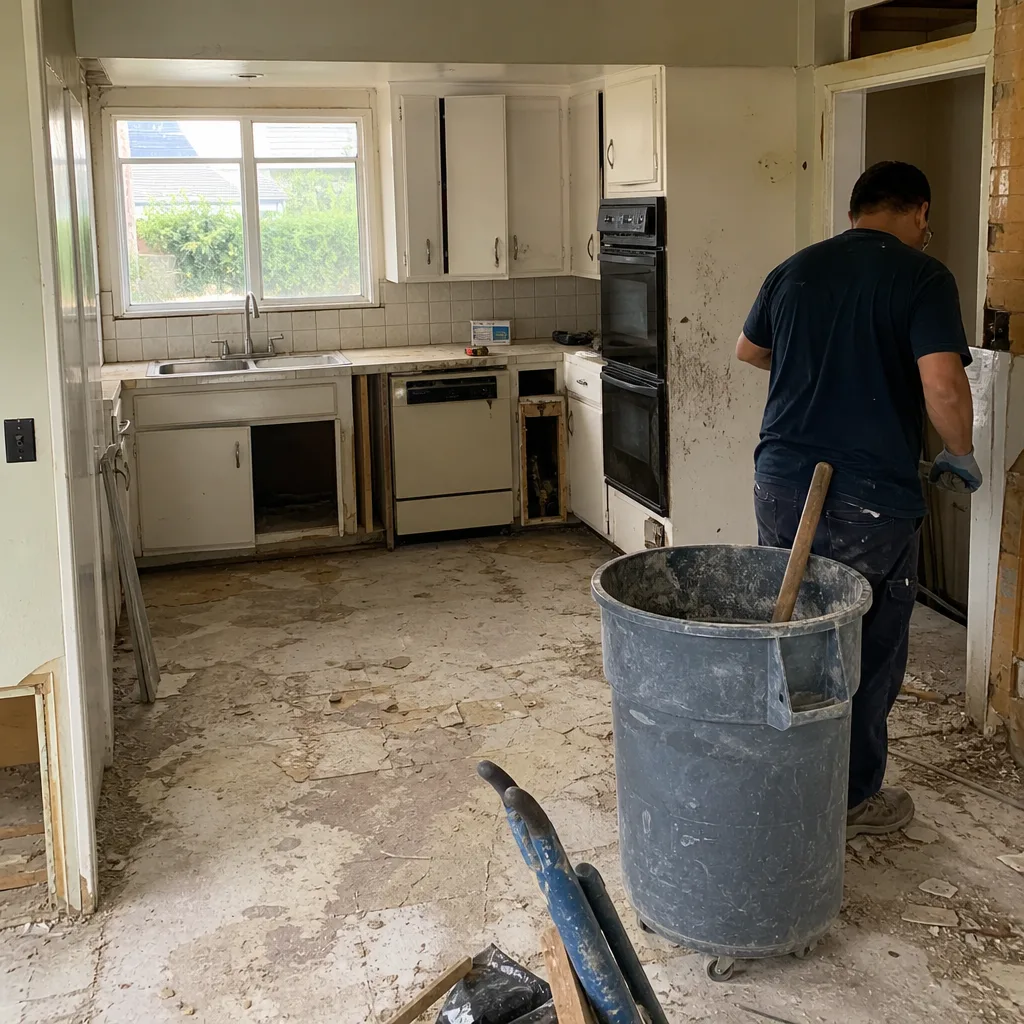 Before
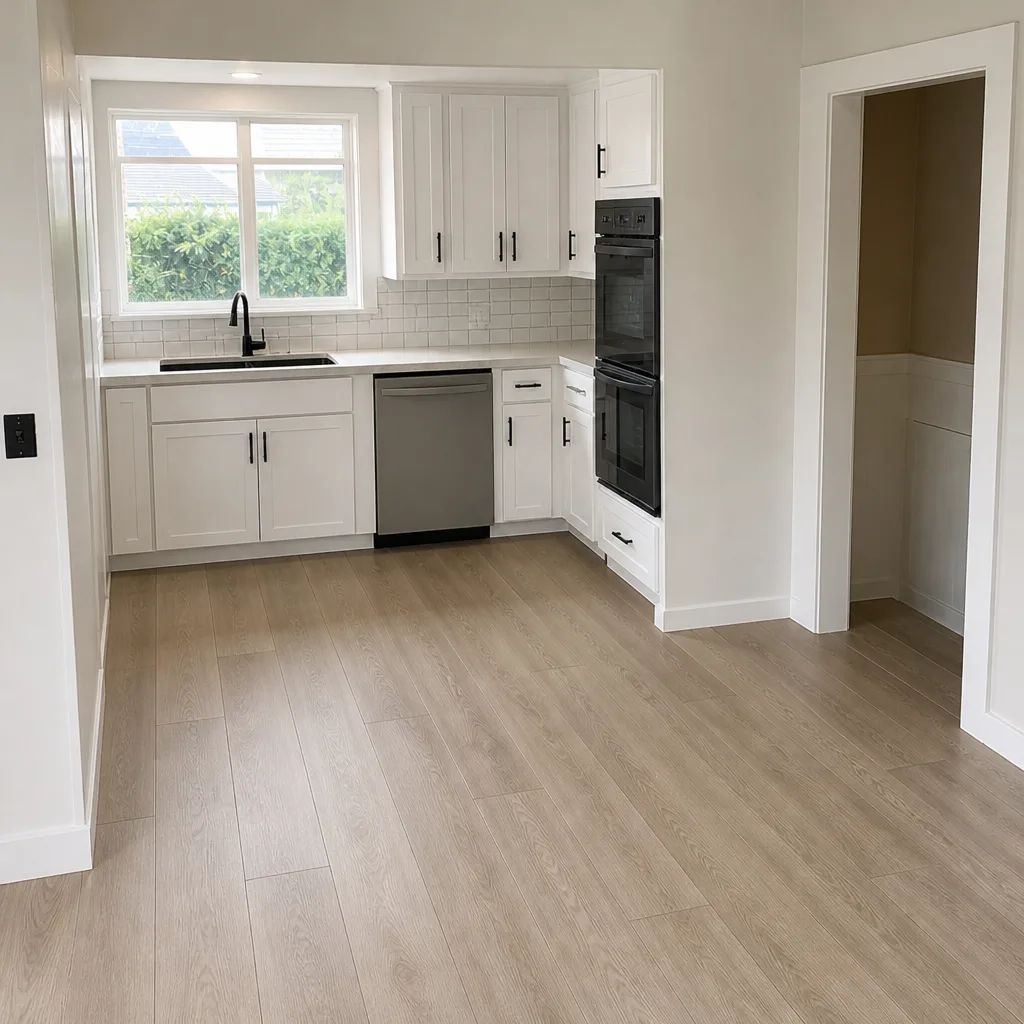 After
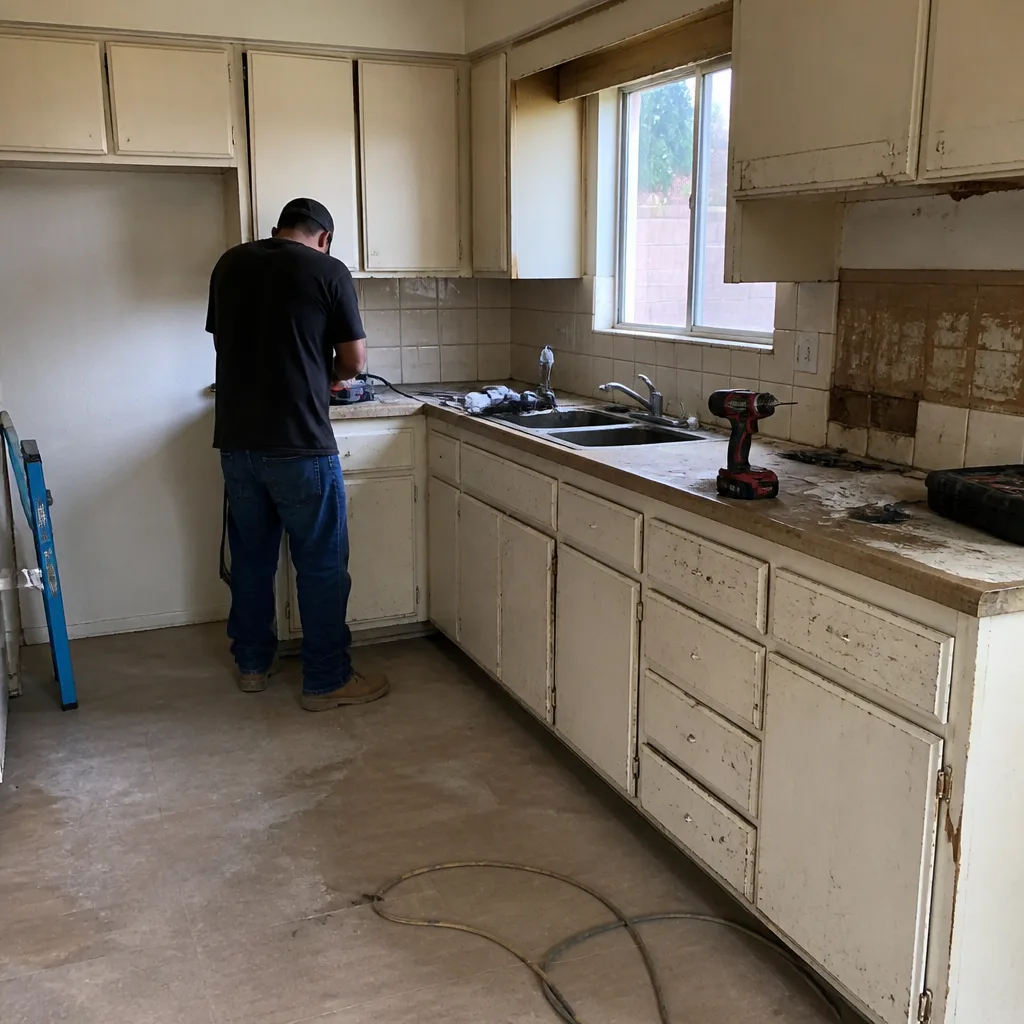 Before
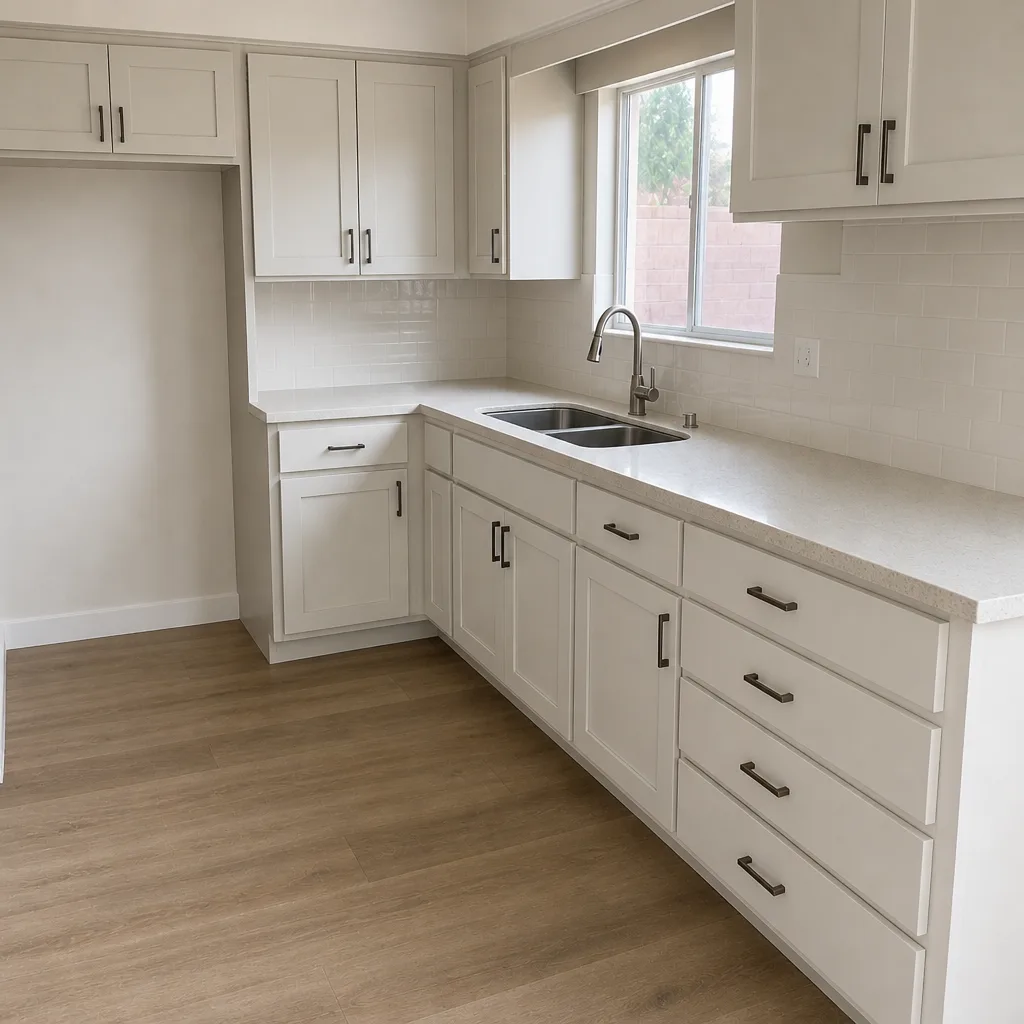 After
Reading the Wood: Can Re-Staining Save It?

Re-staining restores a fence that’s faded and dry. It does not fix wood that’s already gone. Here’s how to tell the difference, and it comes down to reading the grain and the checks.
Look at the surface checks. Fine checks – hairline cracks in the face of the board – are normal and cosmetic. Deep checks that you can fit a coin into, or that run more than a third of the way through the board, mean the wood is drying from the inside out and losing structural strength. Stain won’t stop that.
Press with a screwdriver. A firm press on the board face should leave a mark, not sink in. If the tip goes into soft, spongy wood, that board is rotting. No finish will save it.
Check the grain on the ends and the bottom of the boards. If the grain is lifting and splintering, the wood is absorbing water and breaking down at the ends, which is where rot starts.
If the wood is still solid, dry, and just faded, re-staining will bring it back and buy years. If it’s soft or deeply checked, the honest answer is to replace the affected boards before you seal. Sealing over rot just traps the problem.
Vines, Plants, and Moisture Before You Reseal
Ivy, jasmine, and climbing vines look great until you realize what they’re doing to the wood. Vines hold moisture against the boards, block airflow, and give insects a highway. The dense green growth keeps the wood damp almost constantly through the marine-layer mornings, which accelerates decay at the board faces and the rail joints.
Removing vines safely:
- Cut at the base, don’t pull. Sever the vine near the ground and let the top growth die back for a week or two. Pulling live vines can tear off the surface of the boards and rip fasteners loose.
- Peel gently once dead. Work from the bottom up and remove the tendrils by hand. Don’t scrape with metal tools that gouge the wood.
- Keep vegetation off the wood. Trim shrubs back a foot from the fence line. Ground cover resting against the bottom of the boards traps water exactly where rot starts.
Before you reseal, take a moisture reading. The wood should be dry the whole way through, not just dry on the surface. A pin-style moisture meter on the face of a board should read low and steady. If it’s still damp after the vine removal and a few dry days, wait. Sealing wet wood is one of the most common reasons a fresh stain fails within a year in Huntington Beach.
The Post-Base Check That Saves You $500
This is the five-minute check with the best return on your time. Once a year, at each post, get down and look at the base where the post meets grade and goes toward the concrete footing.
What you’re checking: rot at the bottom of the post, soil piled against the wood, and any sign of softening. Push a screwdriver into the base of the post. It should resist. If it sinks in easily, the post is rotten at the ground line – and that’s the failure point that matters.
Here’s why timing is everything. A post that’s rotting just above grade can often be sistered or replaced while the concrete footing is still sound – call it a $200 fix. Let that rot travel down into the footing and you’re looking at $700 or more to break out concrete and dig a new base. The whole difference comes down to whether you checked this year or waited.
Clear any soil or mulch that’s piled up against the post base. Grade should slope away, not toward, the wood. And if you see rot at grade, deal with it now – the deeper it spreads, the more it costs. For anything involving digging out a footing or resetting a post, that’s a job to hand to a pro. If you’re looking at a bigger project around the fence line, our Driveway & Pavers in Huntington Beach work often ties into fence and gate resets.
Common Mistakes to Avoid
- Sealing in spring instead of fall. Spring-sealed fences in Huntington Beach often blister when winter moisture hits. The September window is where the coating actually holds.
- Pressure-washing at high pressure. It drives water into the checks and fuzzes the grain, which makes stain sit uneven. Low pressure and a soft brush do the job.
- Sealing damp wood. Trapped moisture is the number-one cause of peeling stain. Read the moisture before you coat.
- Ignoring the post bases. The cheapest fix on the list is the one most homeowners skip, right up until the post rots into the footing.
- Letting vines run wild. Dense growth keeps the wood wet and gives rot a place to start. Trim it back regularly.
- Checking fasteners every few years instead of every year. A rusted screw costs pennies to replace and guarantees a bigger repair if it fails.
- Sealing over rot. If the wood is soft or deeply checked, replace it before finishing. A sealer over compromised wood just traps the problem.
When to Call a Professional
Most of this guide is homeowner territory – a walk-around, a moisture meter, and a brush. But a few situations need experienced hands. If a post is rotting into its concrete footing, if a gate has pulled free of a hinge post, if multiple boards are soft across a run, or if a section of fence has leaned after a winter storm, that’s structural work. Digging out and resetting a footing, replacing rail systems, or re-hanging a gate on a compromised post is a different skill than staining and sealing. Safety matters too – a fence that’s leaning or has a compromised post can fail suddenly, so don’t climb on or lean weight against a fence once a post is suspect. This is also the point where the fence ties into larger projects around the property. Our team handles Home Additions & ADU in Huntington Beach and larger builds, and the fence line often gets sorted out as part of those jobs. Barrett & Sons Construction Huntington Beach offers free estimates in Huntington Beach – call (844) 320-2945.
Frequently Asked Questions
Every two to three years for fences in full sun, and every three to four years for shaded runs. The sunny, south- and west-facing boards break down fastest, so test those first. The best time to seal is September, after the summer UV and before the winter moisture. Call (844) 320-2945 for a free estimate if you’d rather have it done right the first time.
Late summer into early fall – September is ideal in Huntington Beach. That window lets you inspect after the sun’s done its damage, clean and seal while the wood is dry, and get ahead of the winter rains. A post-winter inspection in April is the second key pass.
It depends on whether the wood is solid. If the boards are dry and only faded, a fresh penetrating stain will bring them back and buy years. If the wood is soft when you press it with a screwdriver, or the checks are deep enough to fit a coin, the wood has degraded and stain won’t fix it – those boards need replacing first.
Push a screwdriver into the base of the post at grade. It should resist hard. If the tip sinks in easily, the wood is soft and rotten at the ground line. Catch it now and you’re often looking at a $200 post replacement; let it reach the concrete footing and it turns into a $700 dig-out.
Fence height and placement rules apply and vary with lot type, so it’s worth confirming before you build. Any contractor handling the job should pull the required permits and sign off on the inspections – the permit inspector works for the homeowner, not the contractor. For a new build rather than maintenance, start with our Fence Installation in Huntington Beach page.
All of it: nails and screws at the rails, hinge screws and latches on the gates, and every bracket at a post or joint. Look for surface rust (normal) versus deep, flaking corrosion (replace it). Keeping vegetation off the fence line and checking fasteners annually are the two habits that add the most years.
The Bottom Line
The schedule isn’t complicated – it’s the timing that matters. Seal in September, inspect after every winter storm, watch the stain fade through summer, check your hardware and post bases once a year. Do those few things and a Huntington Beach wood fence will outlast an ignored one by eight to ten years. The cheap fixes – a rusted screw, a cleared post base, a moisture check before sealing – are the ones that prevent the expensive ones. If any part of the job turns structural, that’s where we come in. Barrett & Sons Construction has been proud to serve local communities for over 29 years, every job backed by our written 90-Day Done Right Promise. Call (844) 320-2945 for a free estimate, and ask about our permanent 10% Senior & Veteran discount. Find our Barrett & Sons Construction Huntington Beach home page to see every trade we handle.
Written by the team at Barrett & Sons Construction Huntington Beach.